Showing posts with label crafts. Show all posts

Wednesday, August 12, 2015

Dog Food Container

Hubby brought home a tin container that I think had popcorn in it. Someone gave it to him.  So I'm not really sure but it smelled like popcorn. :)


I emptied the food into another container, put some cardboard in the inside to keep it from getting paint on it and lightly scuffed the outside of the can and lid.

Then took some white and black spray paint that was the paint + primer and gave it 2 coats of paint. I let it dry well, put the food back in and let it dry for a full day before pushing the lid down all the way.


I wanted to make it look similar to the canister I bought from Ballard's a few years back for Dozer's food.  
Here is Dozer's container:


I could have just bought some vinyl and cut the lettering myself with my Cricut but that was more costly than just buying it premade off Etsy.

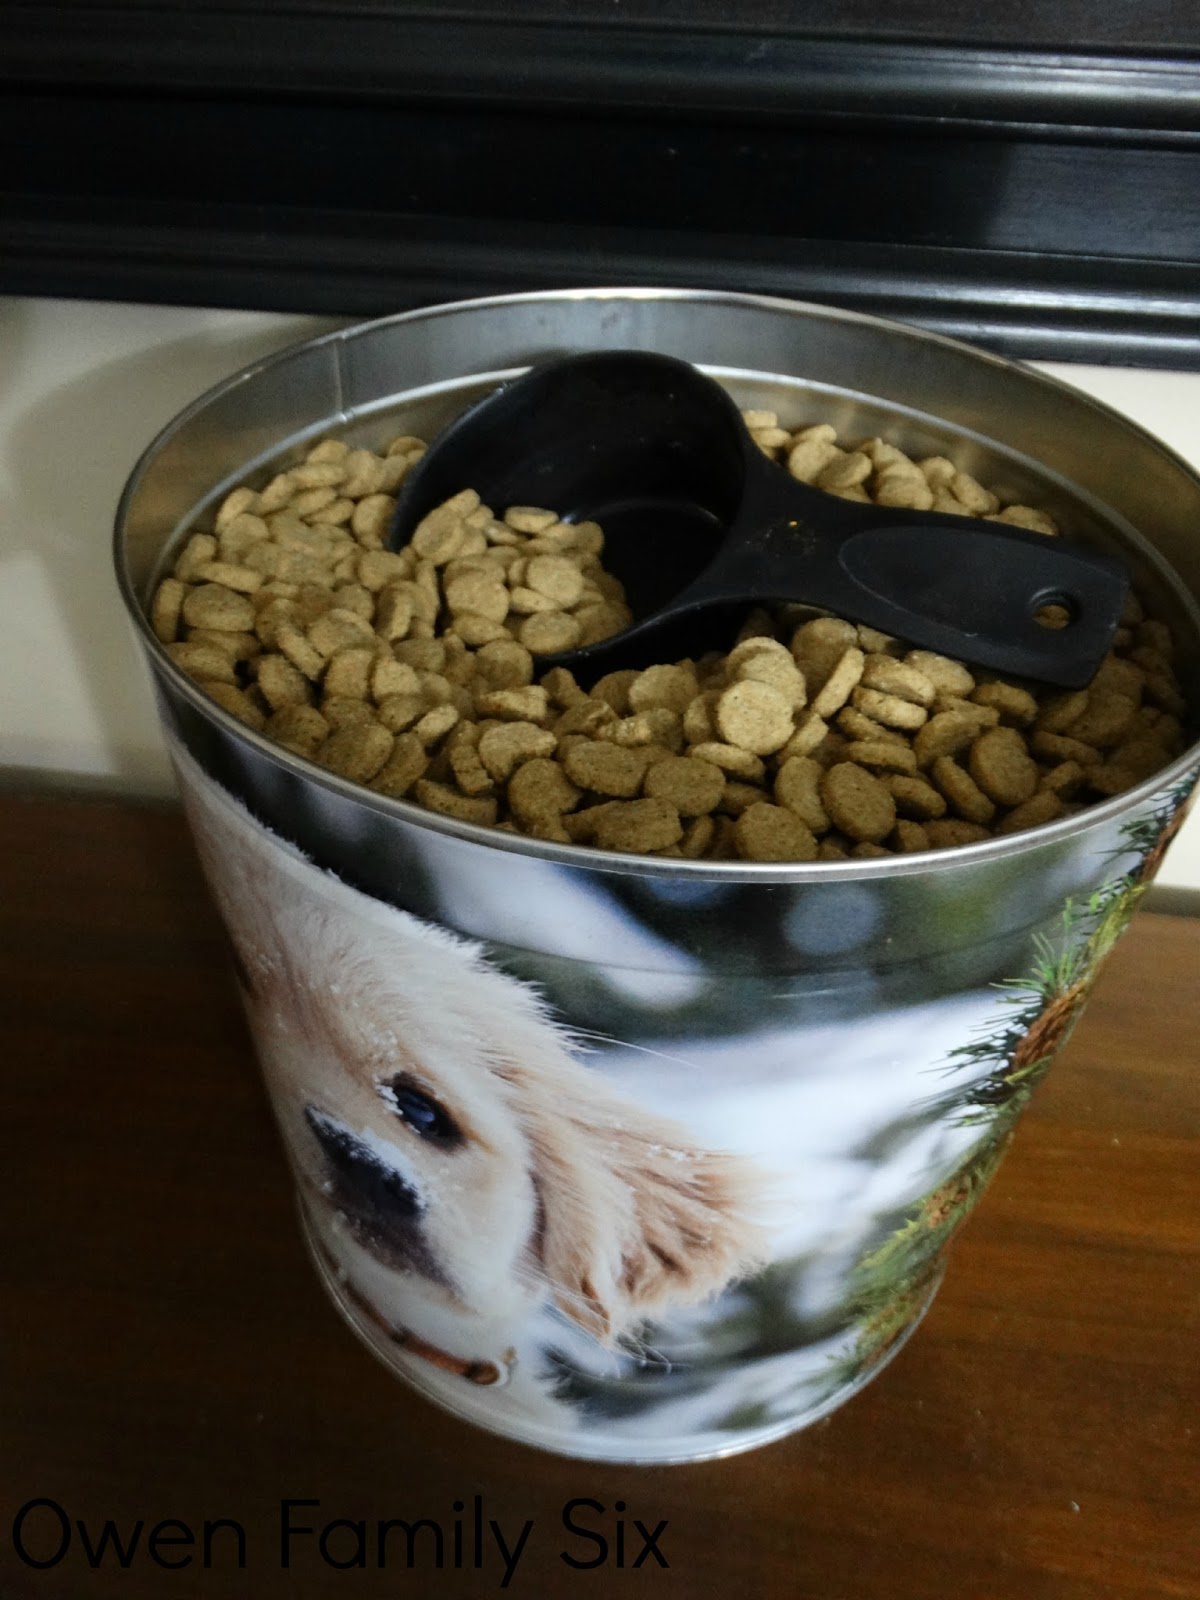
So here's Dixie's food container.  She has her own food container because we switched to a weight maintenance food.


Thursday, December 19, 2013

Christmas Present

I couldn't figure out what to make my inlaws for Christmas.  This year is a tough year financially for us.  We had some clients not pay and that set us back on everything.  This year we told the boys we can't afford to buy any presents but we can make each other presents.  So the boys are going to get hot chocolate mugs and some baked treats along with some wood signs.  Noah's says "paintball", Jacob's says "Detroit Tigers", Nathan's says "railroad crossing" and Matthew's says "Rock" with a guitar picture on it.  It's not much but with everything going on they are just happy that I am ok after surgery and that they get to keep their cable and internet for one more month.

So here's what I came up with for my inlaws.

I just took a piece of scrap wood which happened to be oak, spray painted it white and then spray painted over some letters I cut out.  Then I touched up the white paint when I was done.


Tuesday, November 26, 2013

Living Room Christmas Tree 2013

We put up the Christmas tree in the living room on Sunday.


I wanted to use the train I found for such a great bargain last year.


I just didn't like the colors of it. So some plastic primer & gold spray paint gave it an updated look.

First I taped off what I didn't want painted.  Then primed, waited an hour then spray painted it gold.


Thursday, November 14, 2013

Spray Painted Train

This was a wooden train that a client of ours had.  They were going to toss it then thought we'd like it since we had kids.  Last year I put it in front of the tv around Christmas time.  Luckily I was able to find all the pieces after my youngest played with it for while....the kid loves trains.   He's now 10 and still loves trains!


I taped off all the natural wood areas with frog tape.


I gave a couple of light coats of gold spray paint.  I didn't bother to prime them but I did give them a light sanding before painting them.


Once they were dry I placed them on the tv stand.


I would eventually like to get some bottle brush trees to display with it.  I think that would look really nice!

Joy Sign

So last year I made a Joy sign for the front porch by cutting out letters with the cricut using the Winnie The Pooh cartridge.  I mod podged the letters on but after being outside for the Christmas season it didn't hold up very well.  The letters started to peel off.

So I took the board and gave the back side a fresh coat of white paint. Cut out  new letters and used adhesive spray to attach then spray painted the board red.  If I had vinyl I would use that instead.  I'm sure that would have less bleed through under the letters.  Mine did bleed through some so I went back and touched up the white paint.


After the paint was dry I placed in on the front porch.


Linked up with:

Tatortots & Jello Link Party Palooza

Monday, November 11, 2013

Twig Star Tree Topper

I didn't get pictures of the first twig star I made so I made up a second one.  I really like the first one better but you can get an idea of how it's made.

You'll need some snips to cut a few thin branches/twigs from a tree or find some on the ground
hot glue
twin for hanging it or attaching it to the top of the tree


First I traced a star shape onto a paper bag but you could just eye ball it if you like.  Then cut some of the twigs to make the long sides of the star.  Hot glue the ends together at the points.


After you've glued all the points together you can then start snipping or breaking the twigs to fill in the points of the star.  You can orientate them however you like or however they fit best.
Once the points are filled in you can then flip the star over and fill in the center with more twigs.


Once it's done you should have something like this:


You can use the twin or string to weave through some openings in the star and tie it to the top of the tree.

You could also paint the star &/or add glitter to it.

Linked up with:

Saturday, November 9, 2013

Plastic Animal Ornaments

In October I purchased some plastic farm animal toys.

First I drilled tiny holes in their backs to insert an eye hook.  Since the animals are hollow I put just a very tiny amount of gorilla glue on the hook before screwing into the hole.  Gorilla glue expands so you don't want to much and try to wipe off any excess.  Then I spray painted them oil rubbed bronze and aged copper.


You can see the family room tree HERE

Friday, November 8, 2013

2013 Family Room Christmas Tree

I can't believe I put up and decorated  a Christmas tree this early!!

I've only put up the one so far in the family room.


The horse is part of some plastic farm animals I bought, added some hooks to them and then spray panted them.

The tree topper is made out of some small branches I cut off our cherry tree outside.


Posts about the ornaments:

Clothespin Snowflakes

Tree Shaped Ornaments

Decoupage Ornaments

Tree Letter Banners

Plastic Animal Ornaments

Tree Topper

You can see the way the tree was decorated in 2012 HERE

Linked up with:

 Pieced Pastimes

By Stephanie Lynn

Christmas Tree Letter Banners

Today we made letter banners for the Christmas tree.

I took some small craft wooden letters, stained them then hot glued them to some string.


You can see more of the tree HERE